
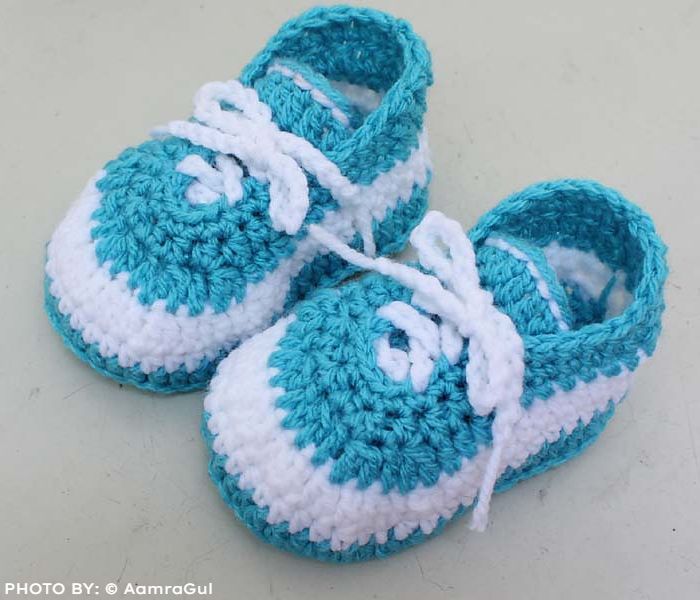
Crochet Lace Up Baby Booties
Lace-up crochet baby booties are the perfect accessory for any stylish baby. Not only do they keep tiny feet warm and cozy, but they also add a touch of elegance to any outfit. With just a few basic crochet stitches and some simple techniques, you can easily create a beautiful pair of lace-up baby booties. In this article, we will guide you through the steps of making your own lace-up crochet baby booties.
Materials Needed:
Worsted weight yarn in your preferred color
Crochet hook size G/4.25mm
Yarn needle
Scissors
4 buttons
Measuring tape
Step 1: Gauge Swatch
Start by making a gauge swatch to ensure that the finished booties are the correct size. Make a chain of 12 stitches and then work in single crochet stitch (sc) until you have a square. Measure the gauge swatch to make sure it measures 2 inches by 2 inches. Adjust your crochet hook size if needed.
Step 2: Crochet Sole
Begin by making the sole of the bootie. Using your preferred color, make a chain of 12 stitches. In the second chain from the hook, work a single crochet stitch (sc). Work 1 sc in each chain across until you reach the end. Chain 1 and turn. Work 1 sc in each stitch across until you reach the end. Continue working in this manner, increasing one stitch at each end of every other row until you have 24 stitches. Work even for 8 more rows until you reach the desired length of the sole. Fasten off.
Step 3: Crochet Upper
To make the upper of the bootie, attach the yarn to the top of the sole at the center of the heel. Work in single crochet stitch (sc) around the entire sole, working 1 sc in each row and 2 sc in each corner. When you reach the center of the toe, make a chain of 8 stitches and skip 8 stitches on the opposite side of the sole. Continue working in sc around the sole, making 1 sc in each stitch until you reach the opposite side of the heel. Fasten off.
Step 4: Crochet Tongue
To create the tongue of the bootie, attach the yarn to the center of the toe where you made the chain in the previous step. Make a chain of 8 stitches and skip 8 stitches on the opposite side of the sole. Work 1 sc in each stitch until you reach the opposite side of the heel. Chain 1 and turn. Work 1 sc in each stitch across until you reach the center of the tongue. Fasten off.
Step 5: Lace Up
To create the laces, cut 4 pieces of yarn that are approximately 18 inches long. Thread one piece of yarn through the bottom hole on one side of the bootie and tie a knot at the end. Thread the yarn through the corresponding hole on the other side of the bootie and tie another knot. Repeat this process for the remaining 3 holes.
Step 6: Add Buttons
Sew a button to the tongue of the bootie and a corresponding button to the center of the toe on the other side of the bootie. Repeat this process for the other bootie.
Step 7: Finishing Touches
Weave in all loose ends with a yarn needle and trim any excess yarn.
Congratulations, you have now completed your very own pair of lace-up crochet baby booties! They are sure to be the envy of all your friends and the delight of any stylish baby. With a little practice, you can customize your booties by using different colors of yarn.
See how to make this beautiful pattern here.
If you liked this crochet thread craft pattern, however, you want to visualize some more ideas before starting a new crochet piece, below, I will leave more inspirations for you, remembering that here on the Crochet Easy Patterns blog you will find the most diverse levels of crochet patterns, both easy, intermediate, advanced and professional, so have fun:
We, here at the Crochet Easy Patterns blog, wish all our beloved and dear artisans an excellent week, full of God’s grace in their homes, much health, peace, love, happiness, harmony, prosperity and especially a lot of good cheer to start yet today another beautiful crochet yarn craft pattern.
Crocheting is too good!