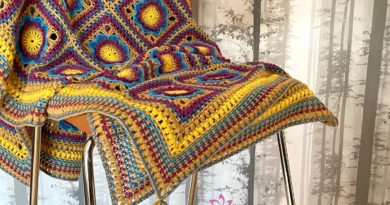
Granny Square Blanket Pattern
Here is a motivating and clear step-by-step guide to creating a crochet granny square blanket pattern:
Step 1: Choose your colors and materials
Before you begin, choose the colors of yarn you want for your blanket. You can opt for a coordinated color palette or a mix of vibrant colors for a more eclectic look.
Make sure you have a crochet hook that fits your chosen yarn size. Typically, a medium-sized hook works well for medium-weight yarn.
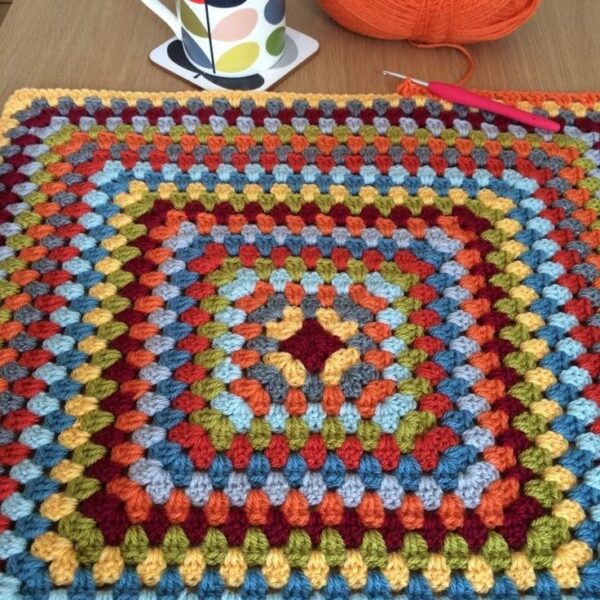
Step 2: Make the first granny square
Start by making a magic loop with the first thread chosen.
Then, make three chains (ch) to count as your first double crochet (PA).
Make two more double crochets inside the magic ring.
Now, make three chains to form the first corner of your square.
Make three more double crochets inside the ring, followed by three chains for the next corner.
Repeat the process of three double crochets, three chains, three double crochets, three chains until you have four groups of double crochets separated by three chains.
Join with a slip stitch (sl st) in the third chain from the beginning to close the square.
Step 3: Make more squares
Now, continue making more granny squares in the same way, alternating colors as desired.
You can choose different sizes of squares or keep them all the same size to create a uniform pattern.
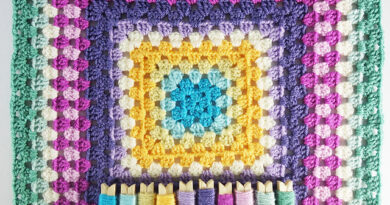
If you prefer, you can also vary the stitches or add details such as flowers or decorative borders.
Step 4: Assemble the squares
After finishing several squares, it’s time to assemble them. Place them in the desired arrangement for your blanket.
Use a tapestry needle and the same color thread as the last square you made to sew the squares together. Make sure the right sides of the squares are facing each other before you begin sewing.
Step 5: Add a border (optional)
To finish off your granny square blanket, you can choose to add a decorative border.
Choose a color that complements the squares and work your way around the blanket, making single crochets, double crochets or any other decorative stitch you prefer.
Continue working around the entire blanket, making extra corners as needed to keep the edge flat.
Step 6: Appreciate your work
Once your border is complete, give any loose stitches and ties a final once-over.
Now it’s time to snuggle under your new granny square blanket! Admire your hard work and enjoy the comfort and beauty of your new handmade crochet piece.
Remember, practice makes perfect, so don’t worry if your first squares don’t look perfect. Over time, you will improve and feel more confident trying different variations and techniques. Have fun crocheting!
Access the free crochet patterns in video
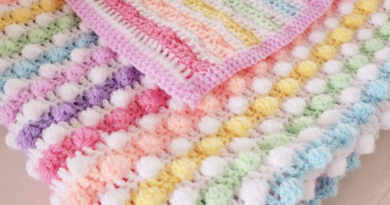
If you liked this crochet model, but want to see other patterns before starting your new piece, below we will leave some more ideas:
Super Easy Crochet Stitch Tutorial
We wish all our dear readers an excellent week, full of God’s blessings in your homes, and especially a lot of creativity to start a new work of art in crochet threads.
Crocheting is so good!